How to connect to Moku:Lab via USB and iPad

Written by Paul Cracknell
Updated at February 27th, 2025
-
Moku:Go
Moku:Go General Moku:Go Arbitrary Waveform Generator Moku:Go Data Logger Moku:Go Digital Filter Box Moku:Go FIR Filter Builder Moku:Go Frequency Response Analyzer Moku:Go Logic Analyzer & Pattern Generator Moku:Go Oscilloscope & Voltmeter Moku:Go PID Controller Moku:Go Spectrum Analyzer Moku:Go Waveform Generator Moku:Go Power Supplies Moku:Go Lock-in Amplifier Moku:Go Time & Frequency Analyzer Moku:Go Laser Lock Box Moku:Go Phasemeter
-
Moku:Lab
Moku:Lab General Moku:Lab Arbitrary Waveform Generator Moku:Lab Data Logger Moku:Lab Digital Filter Box Moku:Lab FIR Filter Builder Moku:Lab Frequency Response Analyzer Moku:Lab Laser Lock Box Moku:Lab Lock-in Amplifier Moku:Lab Oscilloscope Moku:Lab Phasemeter Moku:Lab PID Controller Moku:Lab Spectrum Analyzer Moku:Lab Time & Frequency Analyzer Moku:Lab Waveform Generator Moku:Lab Logic Analyzer/Pattern Generator
-
Moku:Pro
Moku:Pro General Moku:Pro Arbitrary Waveform Generator Moku:Pro Data Logger Moku:Pro Frequency Response Analyzer Moku:Pro Oscilloscope Moku:Pro PID Controller Moku:Pro Spectrum Analyzer Moku:Pro Waveform Generator Moku:Pro Lock-in Amplifier Moku:Pro Laser Lock Box Moku:Pro Digital Filter Box Moku:Pro FIR Filter Builder Moku:Pro Phasemeter Moku:Pro Multi-instrument Mode Moku:Pro Logic Analyzer/Pattern Generator Moku:Pro Time & Frequency Analyzer
- Python API
- MATLAB API
- Arbitrary Waveform Generator
- Data Logger
- Digital Filter Box
- FIR Filter Builder
- Frequency Response Analyzer
- Laser Lock Box
- Lock-in Amplifier
- Oscilloscope
- Phasemeter
- PID Controller
- Spectrum Analyzer
- Time & Frequency Analyzer
- Waveform Generator
- Logic Analyzer & Pattern Generator
- Multi Instrument Mode
- Moku Cloud Compile
- Moku general
- LabVIEW
- mokucli
< Legacy article : this article applies only to Moku:Lab running firmware 511 or older>
A step-by-step guide for setting up Moku:Lab with USB connection to an iPad
There are some situations, for example in a restricted lab environment or for radio interference reasons, where you may wish to use Moku:Lab with neither Wi-Fi nor ethernet.
The Moku:Lab can connect to the iPad app via a USB cable; no ethernet or wifi is needed. This is accomplished by using the appropriate iPad connector cable.
1. iPads : either a Lightning or USB-C connector.
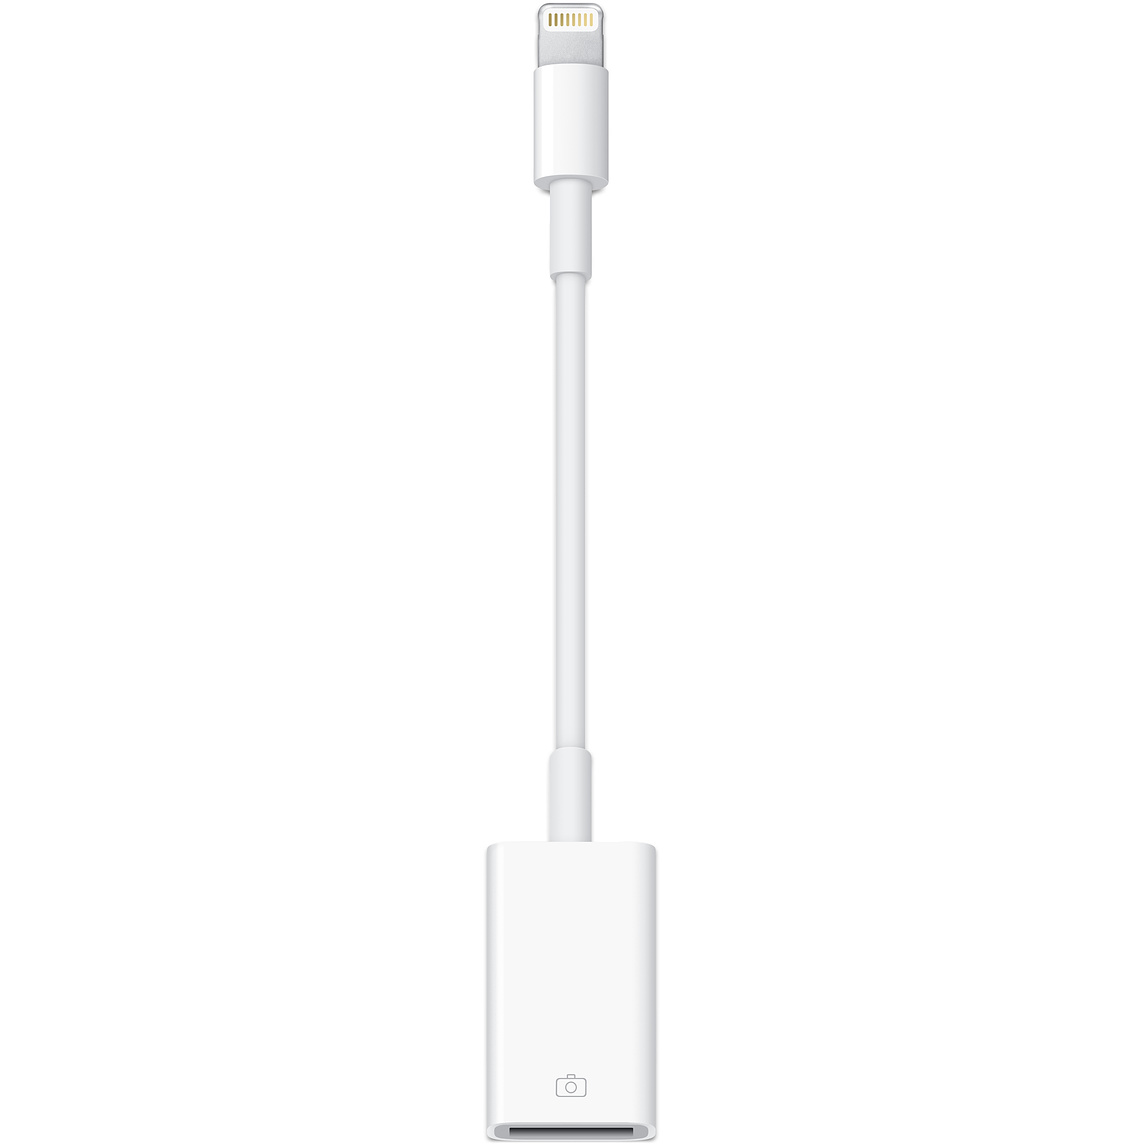
If your iPad has a Lightning connector; you will need
- Lightning to USB camera adaptor and
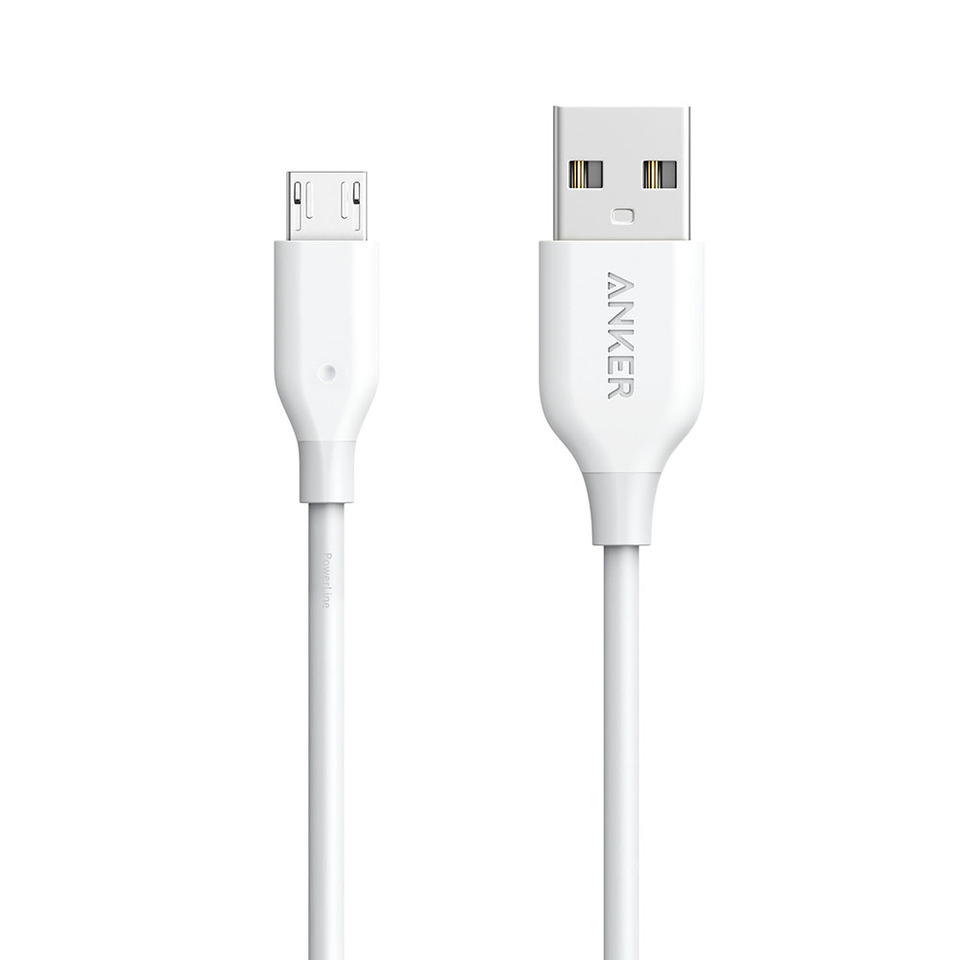
- USB type A to USB micro B cable
If your iPad has a USB-C connector, you will need a USB-C to USB micro B cable.

2. Connect the appropriate cable(s)
Connect your cables from the iPad to the micro USB type B data port connector on the rear of the Moku:Lab
 or
or 
3. Network connection
Once the iPad is connected to Moku:Lab via USB, the network connection appears as an Ethernet/RNDIS connection to the iPad. This can be selected in the "Settings" panel of the iPad; confirm it is setup as "Configure IP : Automatic" and within a few moments, the iPad will configure the interface. Launch the Moku:Lab app on the iPad, you will see your Moku:Lab appear in the 'Select your device' menu.


Moku:Lab LED status during USB mode
When connected via USB, and with no other network connection available, Moku:Lab's power button LED will flash orange.
