Moku LabVIEW API - Create Standalone Executable
How to create a standalone executable from a LabVIEW project with the Moku LabVIEW API.

Written by Steve Kuhn
Updated at December 21st, 2023
-
Moku:Go
Moku:Go General Moku:Go Arbitrary Waveform Generator Moku:Go Data Logger Moku:Go Digital Filter Box Moku:Go FIR Filter Builder Moku:Go Frequency Response Analyzer Moku:Go Logic Analyzer & Pattern Generator Moku:Go Oscilloscope & Voltmeter Moku:Go PID Controller Moku:Go Spectrum Analyzer Moku:Go Waveform Generator Moku:Go Power Supplies Moku:Go Lock-in Amplifier Moku:Go Time & Frequency Analyzer Moku:Go Laser Lock Box Moku:Go Phasemeter
-
Moku:Lab
Moku:Lab General Moku:Lab Arbitrary Waveform Generator Moku:Lab Data Logger Moku:Lab Digital Filter Box Moku:Lab FIR Filter Builder Moku:Lab Frequency Response Analyzer Moku:Lab Laser Lock Box Moku:Lab Lock-in Amplifier Moku:Lab Oscilloscope Moku:Lab Phasemeter Moku:Lab PID Controller Moku:Lab Spectrum Analyzer Moku:Lab Time & Frequency Analyzer Moku:Lab Waveform Generator Moku:Lab Logic Analyzer/Pattern Generator
-
Moku:Pro
Moku:Pro General Moku:Pro Arbitrary Waveform Generator Moku:Pro Data Logger Moku:Pro Frequency Response Analyzer Moku:Pro Oscilloscope Moku:Pro PID Controller Moku:Pro Spectrum Analyzer Moku:Pro Waveform Generator Moku:Pro Lock-in Amplifier Moku:Pro Laser Lock Box Moku:Pro Digital Filter Box Moku:Pro FIR Filter Builder Moku:Pro Phasemeter Moku:Pro Multi-instrument Mode Moku:Pro Logic Analyzer/Pattern Generator Moku:Pro Time & Frequency Analyzer
- Python API
- MATLAB API
- Arbitrary Waveform Generator
- Data Logger
- Digital Filter Box
- FIR Filter Builder
- Frequency Response Analyzer
- Laser Lock Box
- Lock-in Amplifier
- Oscilloscope
- Phasemeter
- PID Controller
- Spectrum Analyzer
- Time & Frequency Analyzer
- Waveform Generator
- Logic Analyzer & Pattern Generator
- Multi Instrument Mode
- Moku Cloud Compile
- Moku general
- LabVIEW
- mokucli
When creating a LabVIEW executable using Liquid Instruments Moku LabVIEW API there are a few additional configuration steps required when setting up the ‘Build Specifications’ for your executable.
The issue at hand is making sure the instrument bitstream files are included with the executable. The instrument bitstream files are part of the Moku API package but are not automatically included with an executable. The following steps outline the process for including the instrument bitstream files when building an executable.
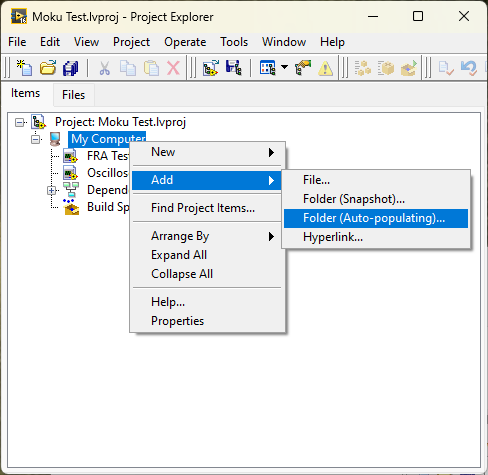
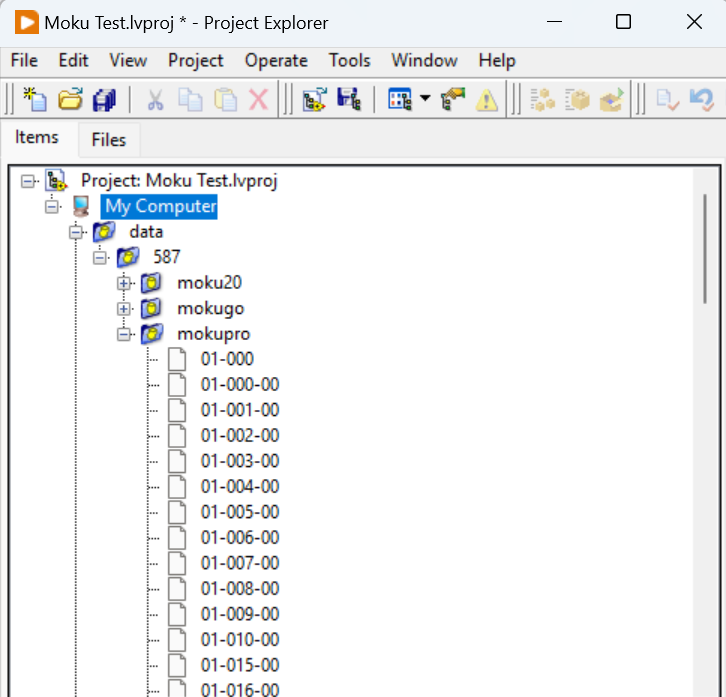
Step 1. Add the bitstream files folder to your LabVIEW project.
There are multiple ways to add a folder to a LabVIEW project. In this example we add an ‘Auto-populating Folder’ to our Moku Test.proj.
The folder we want to include is the ‘data’ folder containing the instrument bitstream files from the Liquid Instruments Moku LabVIEW API. That folder will be found at the following path:
C:\Program Files (x86)\National Instruments\LabVIEW 2016\vi.lib\Liquid Instruments\Liquid Instruments Moku
Depending on your LabVIEW version the highlighted portion in red may be different.
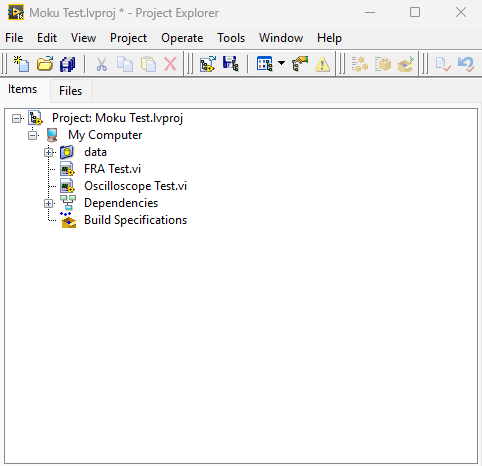
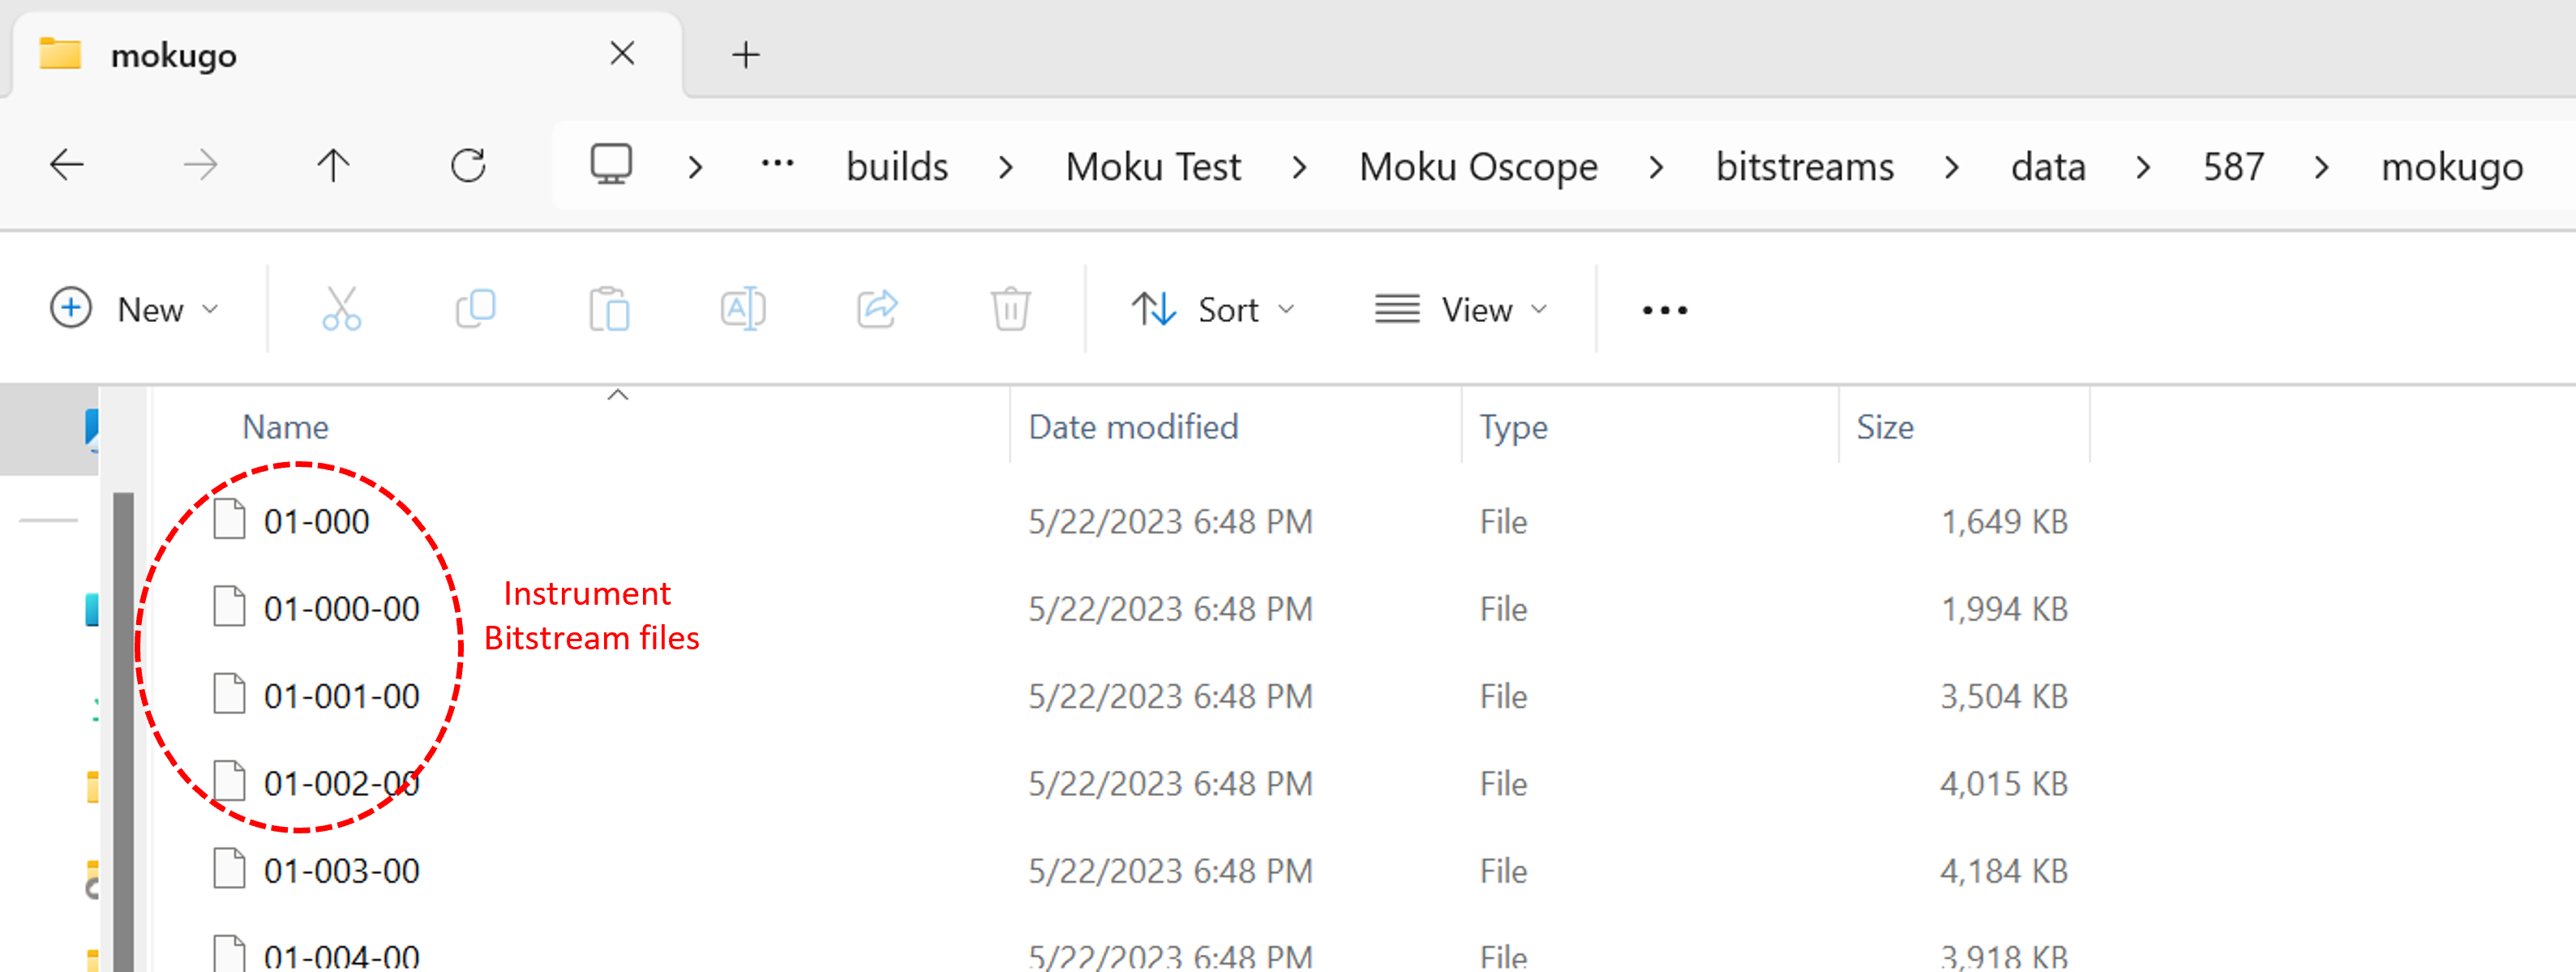
Now if we expand the data folder we should see the bitstream files.
Step 2. Configure the Build Specifications for your executable
a. Under Build Specifications select New - > Application (EXE).
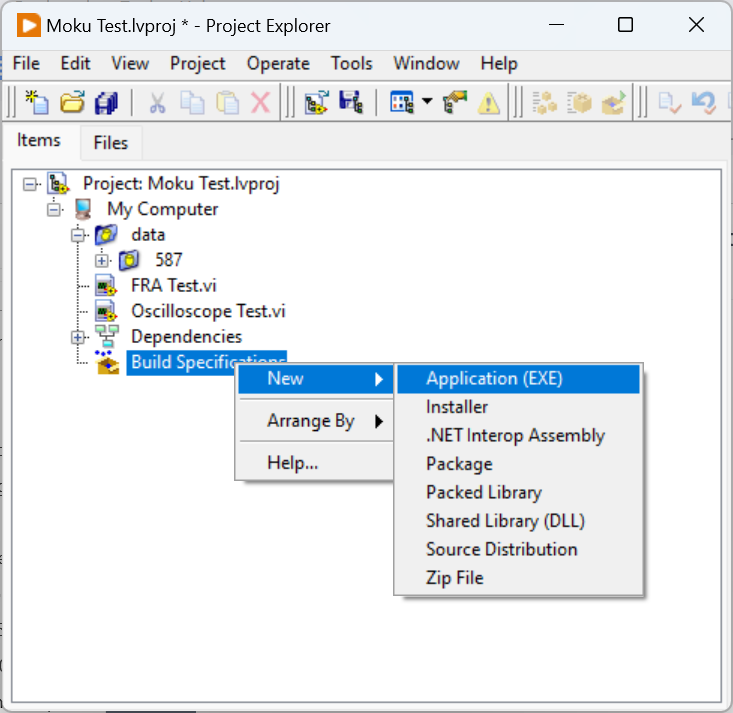
This brings up the My Application Properties interface.
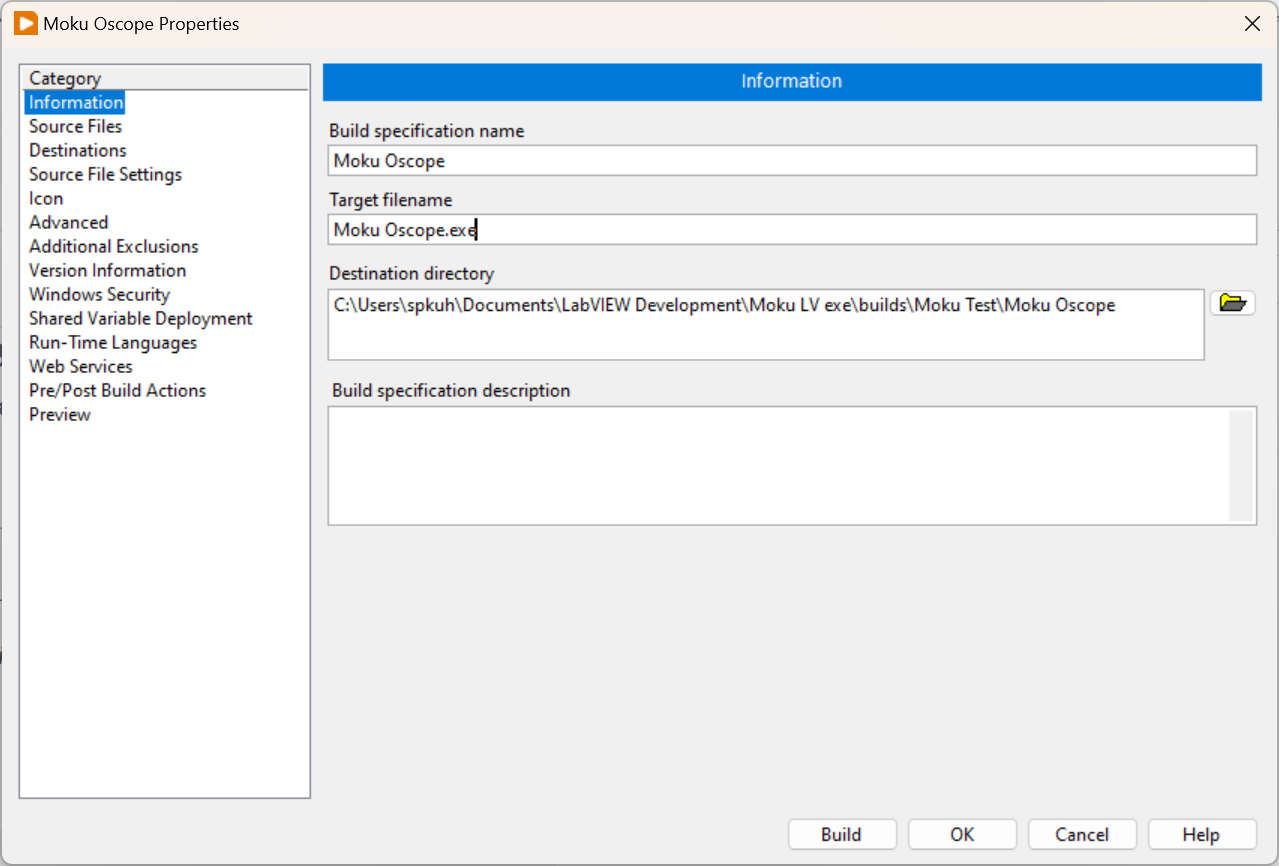
b. Under Information provide a Build specification name and Target filename for the executable.
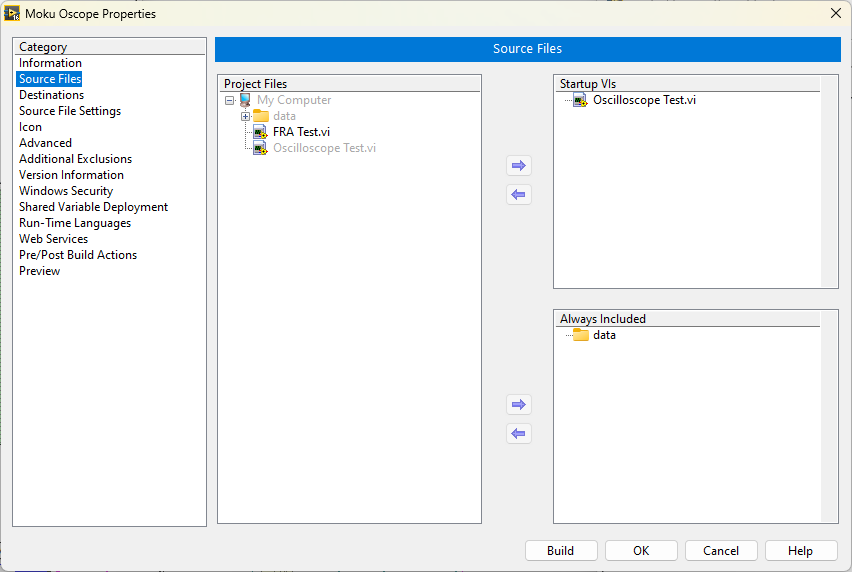
c. Under Source Files add Oscilloscope Test.vi to the ‘Startup VIs’ , then add the data folder to 'Always Included '
d. Under Destinations add a new Destination and the Destination label should be bitstreams.
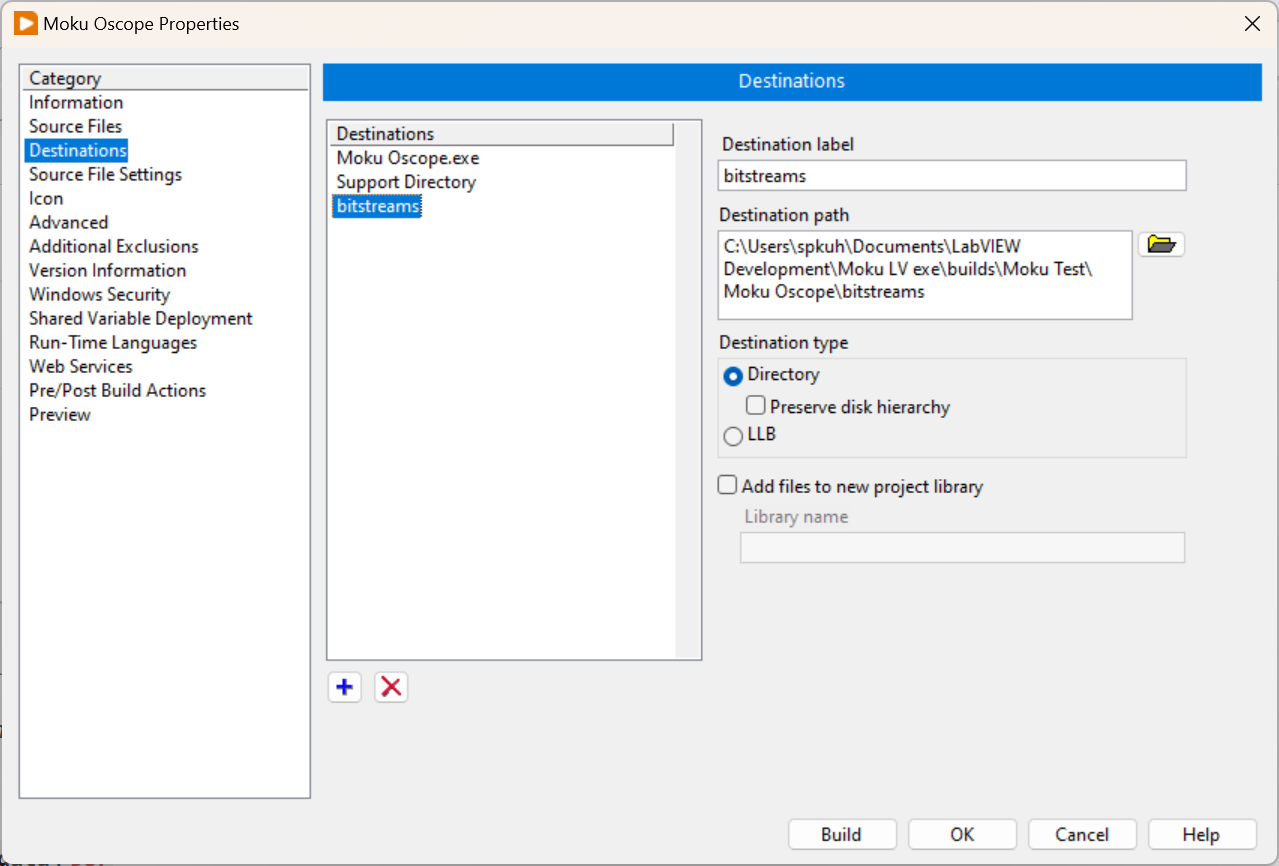
e. Modify the Destination path, add \data\587

*** The number at the end of the path needs to match the number for the data subfolder. Expand the data folder in the LabVIEW project and verify the number. This is critical for the executable to load the instrument bitstream correctly. The number corresponds to the firmware version.

f. Next, under Destinations, under Destination Type make sure to check the box Preserve disk hierarchy.
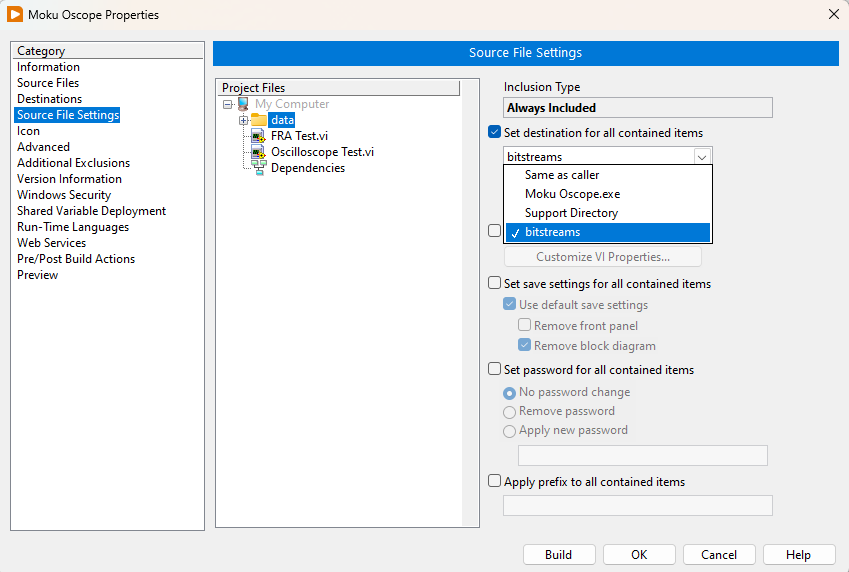
g. Under Source File Settings, under Project Files select the data folder.
h. Check the box Set destination for all contained items.
I. Use the drop-down menu under Set destination for all contained items and select bitstreams.
Step 3. Build the executable
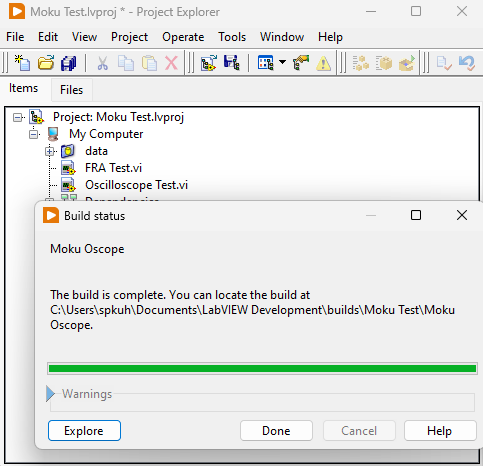
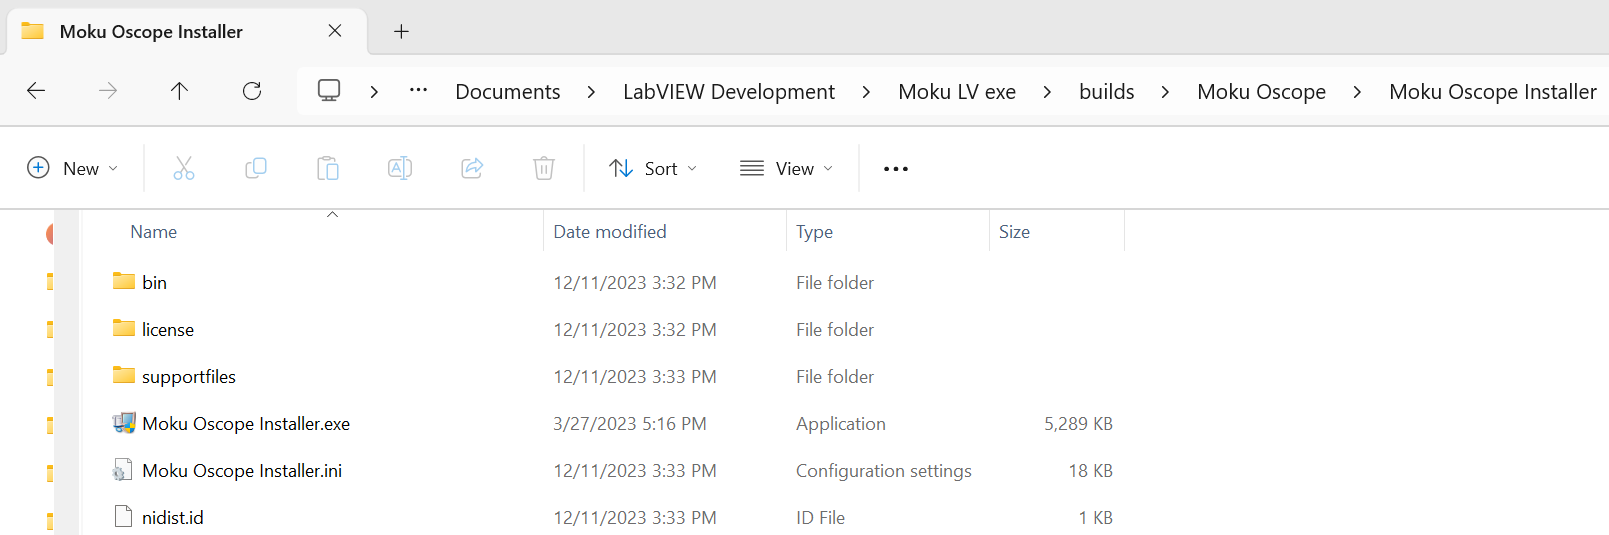
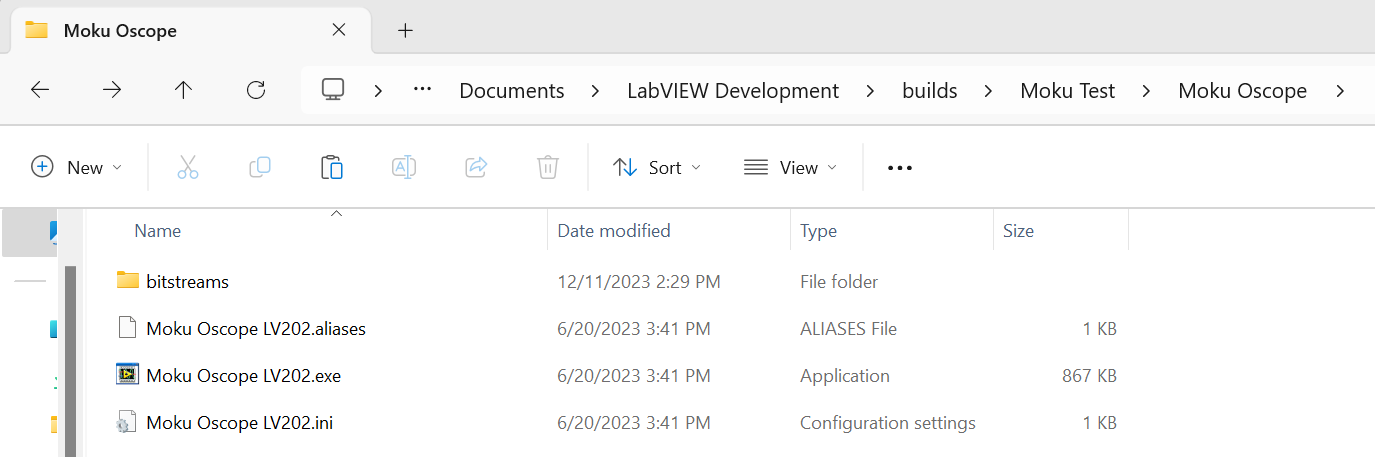
Step 4. Verify the build
Once the Build is complete check the directory and confirm the bitstreams have been included. Be sure to drill down into the bitstreams folder and confirm the bitstreams files are present.
We also recommend building an installer for the executable. This removes the need for having to separately install runtime engines on the target machine. Step 5 outlines the minimum steps required for building an installer.
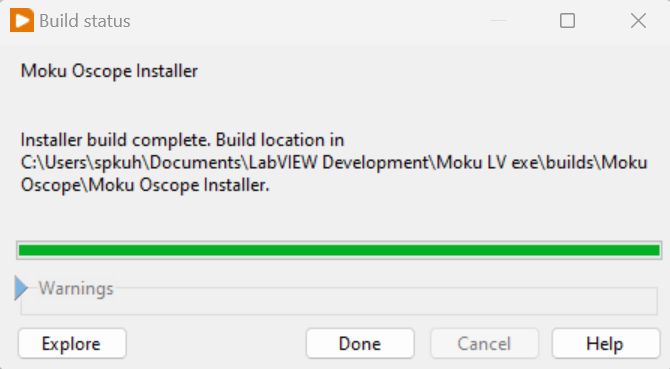
Step 5. Build and installer for the executable
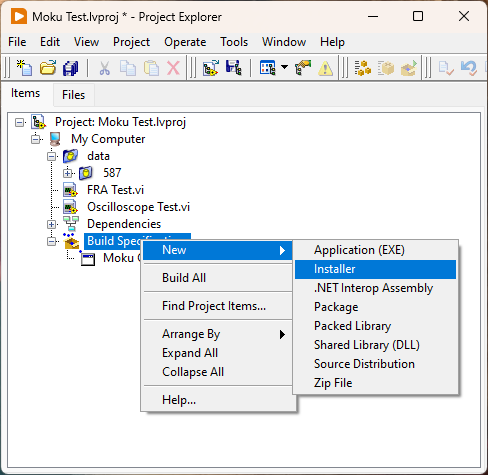
a. Under Build Specifications select New - > Installer.
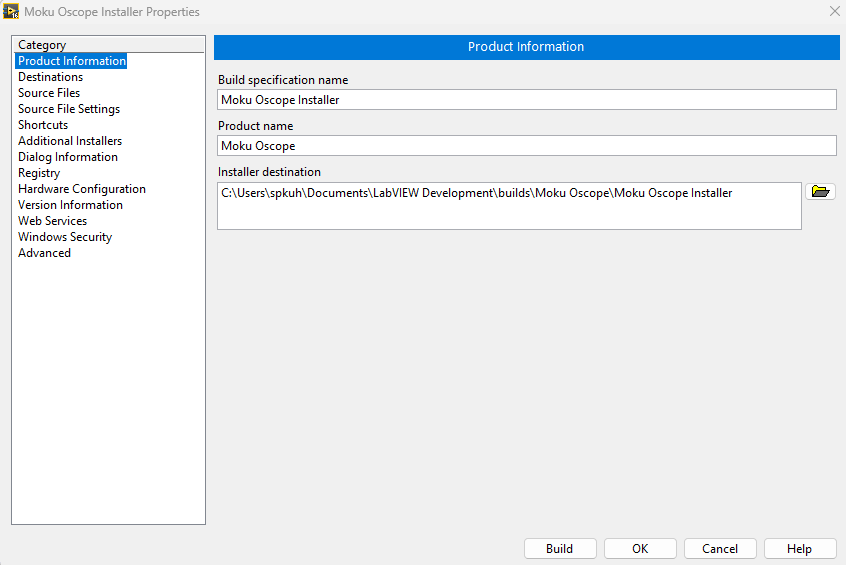
b. Under Product Information configure a Build and Product name and the Installer destination.
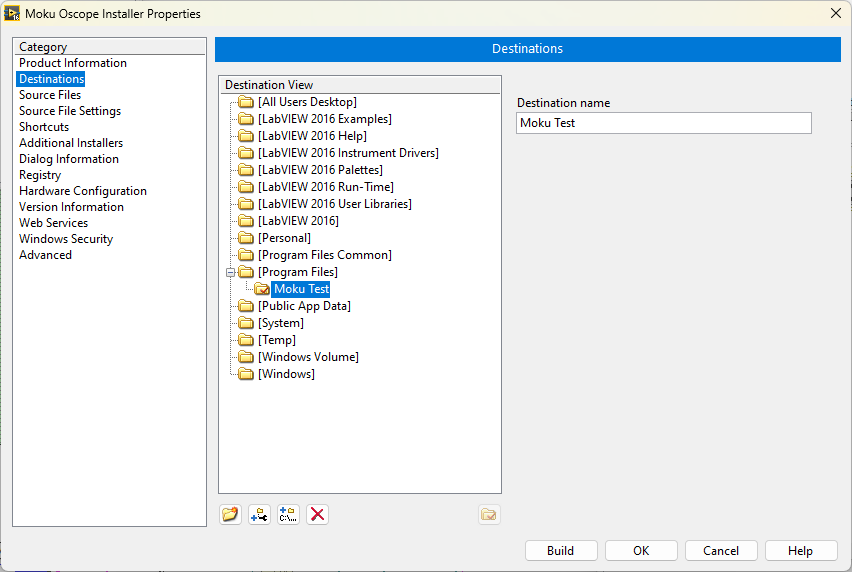
c. Under Destinations configure the Destination name.
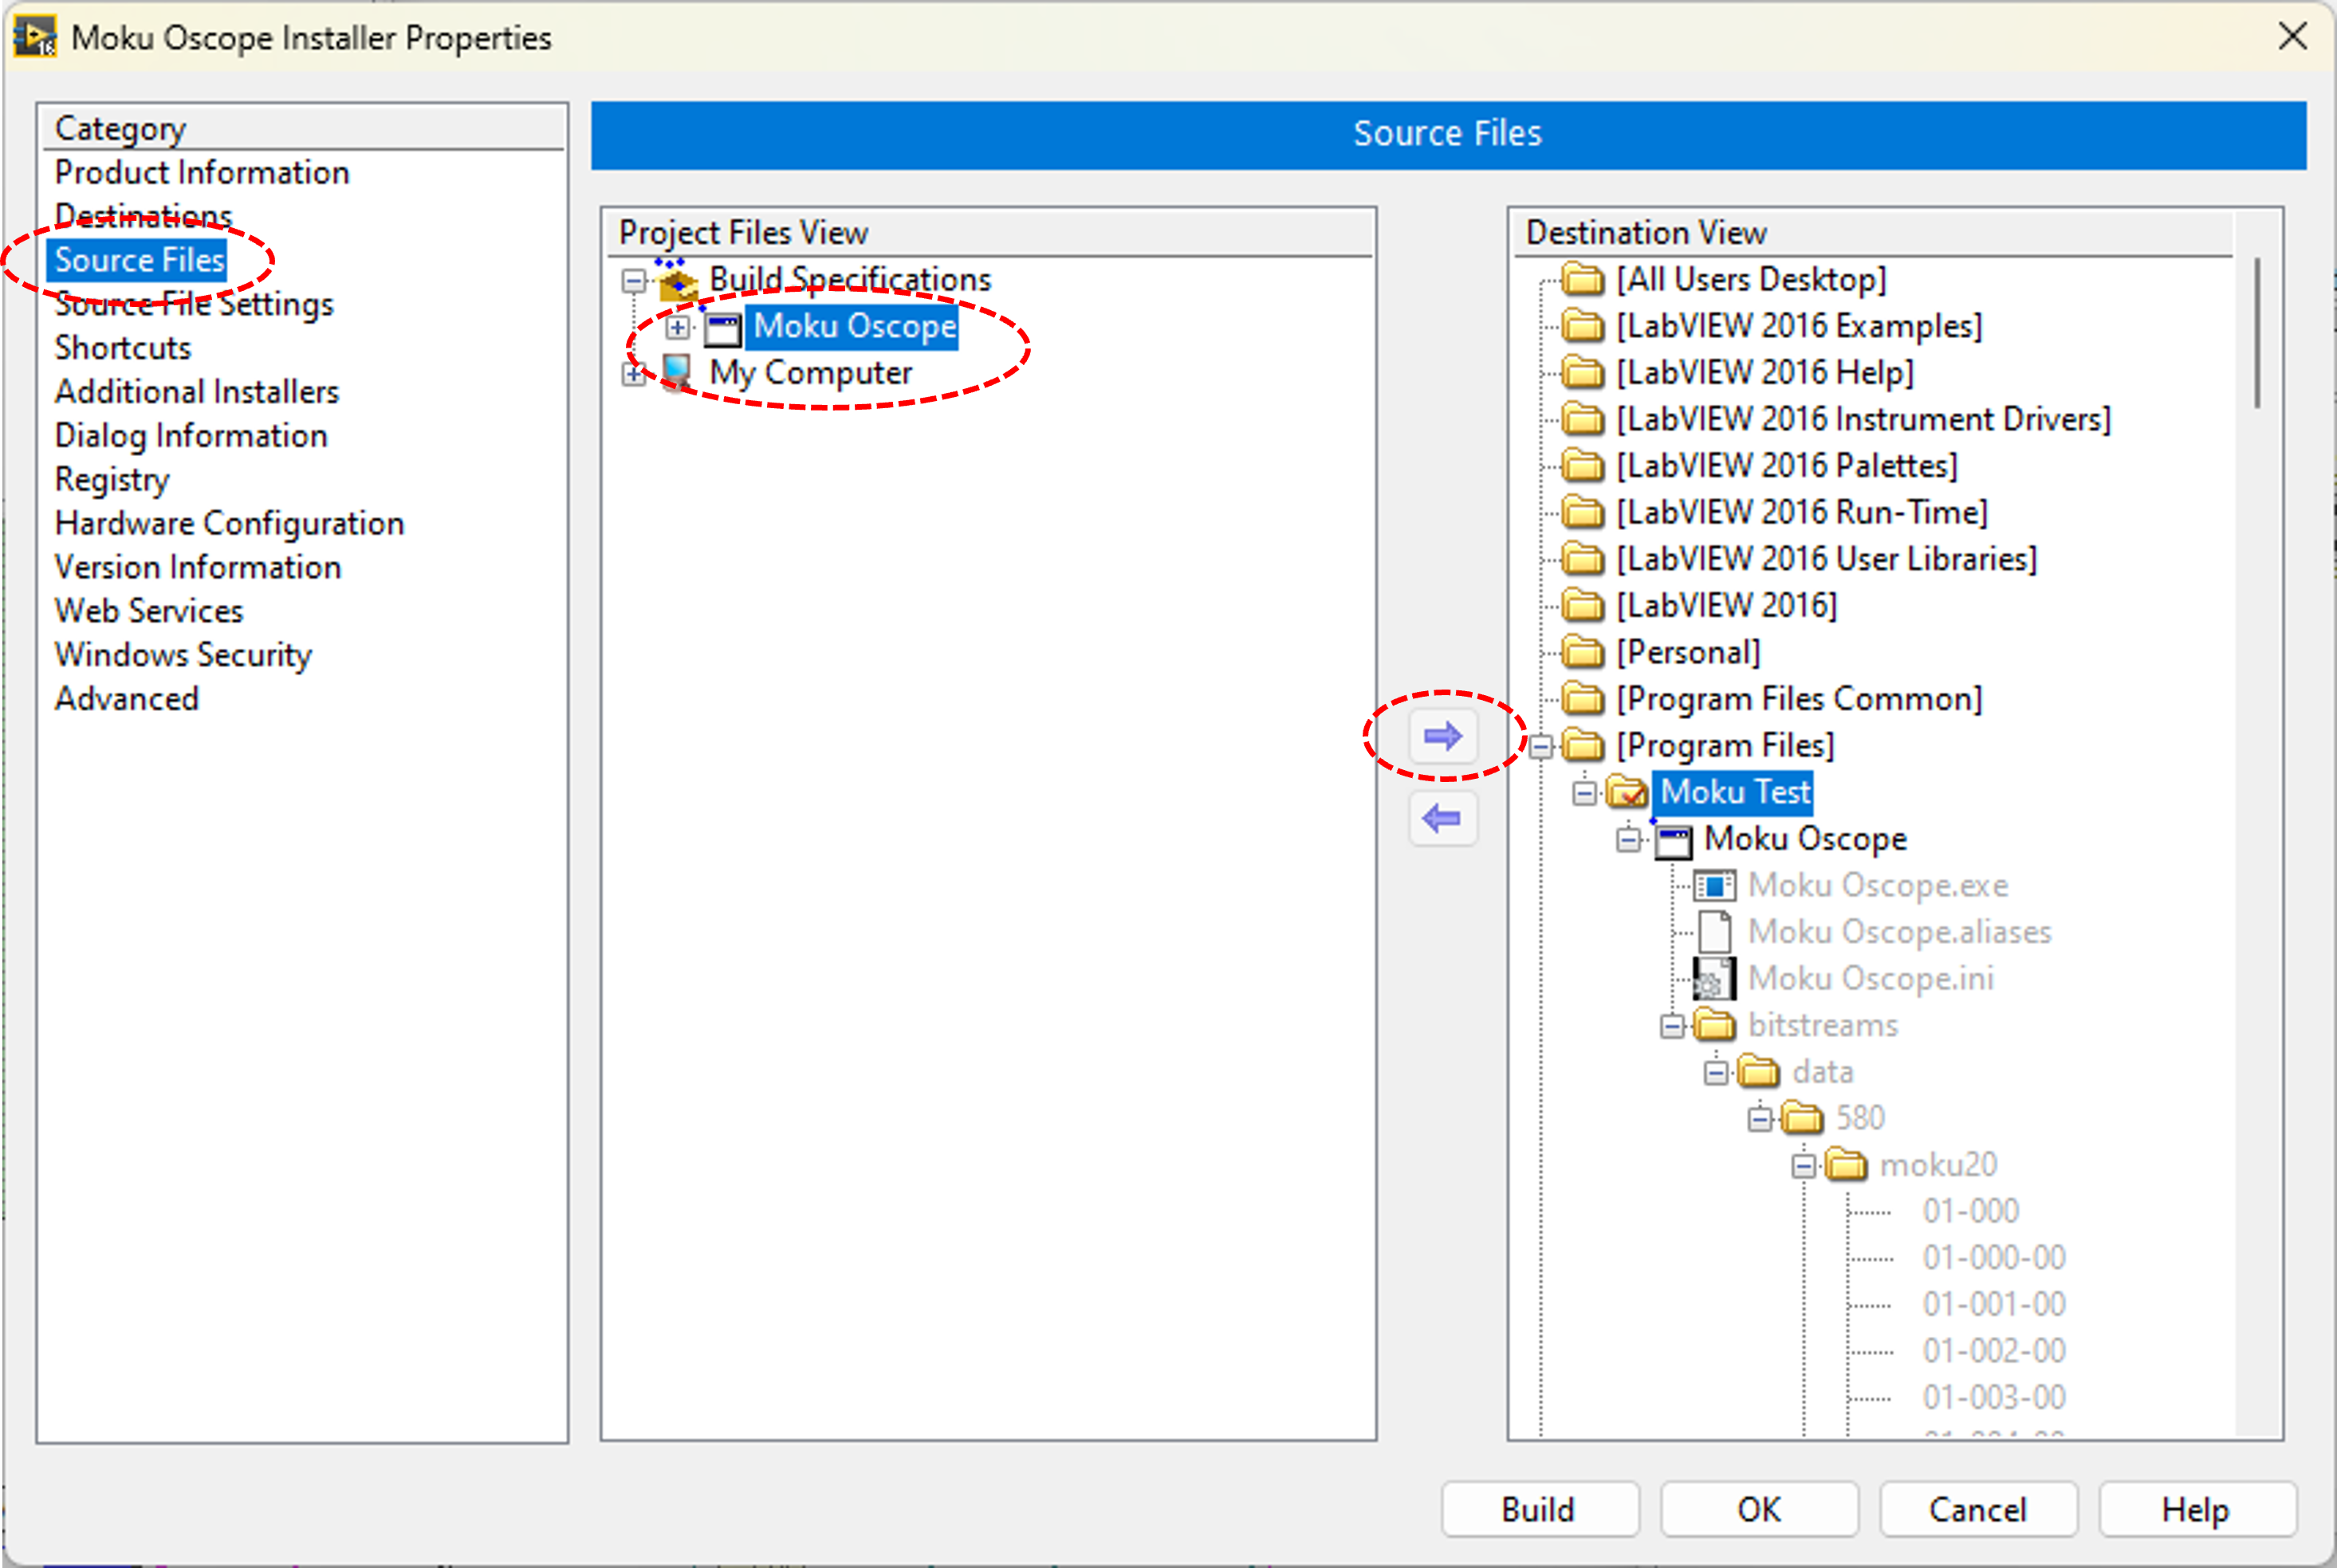
d. In the Source Files category, under Project Files View select the executable (Moku Oscope) and then hit the right arrow to add the executable to the Destination folder.
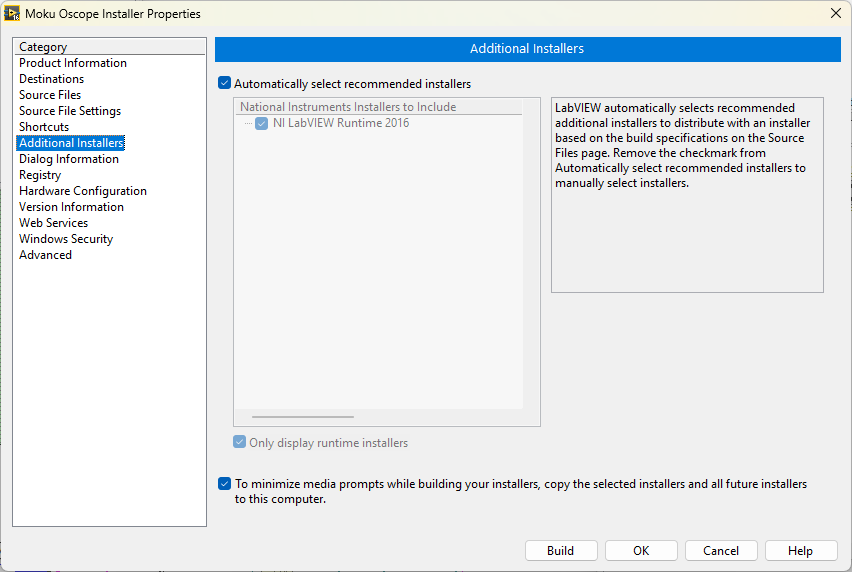
e. Under Additional Installers make sure the LabVIEW Runtime engine is included.
f. Configure the other categories to your specifications.
g. Build the Installer.