How to connect my Moku:Lab to a WiFi network for the first time

Written by Paul Cracknell
Updated at February 5th, 2021
Initial set up of Moku:Lab WiFi connection
When your Moku:Lab is powered on for the first time, it will be in its factory default state - it will broadcast a Wireless Access Point and Ethernet will be enabled.
To configure your Moku:Lab to join an existing network, we recommend using our iPad app for the setup process.
- Join the Moku:Lab's Wireless Access Point network
- Open the iPad's Settings and select "Wi-Fi" from the panel on the left.
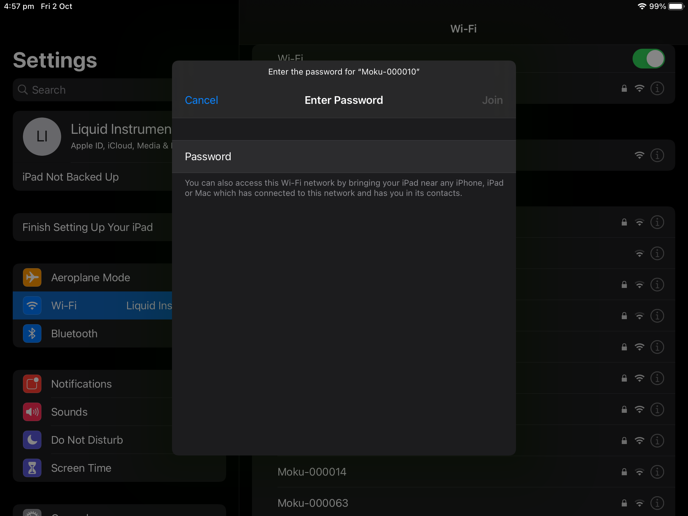
- Select the network called “Moku-######”, where “######” is the middle 6-digits of the serial number printed on the bottom of the Moku. (See 'how to find the serial number of Moku:Lab'). The default password is mokuadmin.
- Launch the Moku:Lab App and tap the icon of the Moku:Lab on the "Select Device" screen. This will show a connection from the iPad to the Moku:Lab, the LEDs on the base of the Moku:Lab unit should also start to flash.

- Tap the gear icon at the bottom left corner of the screen to configure the Moku:Lab's hardware setting
- Switch to WiFi tab on the "Device settings" menu.
- Tap the switch next to "Join a WiFi network" to enable WiFi connection.
- Enter the details of the WiFi network which you wish the Moku to join. You will be prompted to enter a password for that network if required.

- Connect your iPad to the same WiFi network, then launch the Moku:Lab App on your iPad again. The iPad will search for Moku:Lab hardware on the same network.
You should now be able to see your Moku:Lab on the same WiFi network.